Sunday, June 29, 2014

Wednesday, June 25, 2014

Life's a Beach with Amanda


Hello stampers!  I am just tickled with this month's new stamp releases!  They are clever, sassy, and perfect for summer.  Warning--once you start stamping umbrellas it's hard to stop!

The umbrella stamp from the Life's a Beach stamp set was just screaming to be stamped in red!  I stamped the sentiment first and then stamped the umbrellas around the sentiment.  The red, white, and blue color scheme makes for an extra festive summer card.

I couldn't resist the little owl in a bikini.  I paper pieced the owl and adhered her over some cork sand.  The beach balls cut out perfectly with a 3/4" circle punch.  I used the clouds from the Sassy Chick stamp set to complete the scene.

I had fun with this card!  The rocking chair from the You Rock mini stamp set looks just like grandma's favorite chair.  I created a scene by choosing patterned paper that looks like bright, floral wall paper and adding a strip of white paper to act as a baseboard.  I combined the you rock sentiment with grandma from A Mother's Love stamp set.

I stamped the chair on dark woodgrain paper, trimmed away the inside pieces with a craft knife, and then fussy cut the remainder of the chair.  Trimming with a craft knife didn't take too long since most of the cuts were straight.

Happy Summer!

Amanda

Monday, June 23, 2014

Life's a Beach with Heather P.


Hi, everyone! Heather P. here with three projects featuring the new June set, Life's a Beach.


For my first card, I started by heat embossing the sailboat and "sand" images from the Life's a Beach set, and the sun/sentiment from Sassy Chick, onto colored CS before fussy cutting.  Next, I adhered the darker water to the card base, then attached the lighter strip of water with pop dots.  I then adhered the sun to the card front before attaching the boat with pop dots.  To finish up, I embellished with gray pop dots.


For my second project, I created a mini shaped card using the super fun cupcake image from It's Your Day.  To create my card, I first heat embossed the cupcake and candle onto yellow CS and pink polka dot paper.  I then fussy cut them out, and paper pieced the yellow frosting onto the pink cupcake wrapper.  Next, I placed the cupcake on top of a piece of white CS, and trimmed it out to create the back of my mini card. 

I then stamped the sentiment onto a strip of gray patterned paper, trimmed the ends to give them a banner shape, then attached them to the card front with pop dots.  Next, I adhered the candle to the card base before covering the frosting with stickles.  To finish up, I added enamel dot sprinkles.


For my last project, I started by die cutting a small circle, then heat embossing the sentiment and anchor from Life's a Beach in pink.  Next, I adhered a strip of pink patterned paper onto the edge of a yellow striped paper, then wrapped it with twine.  Once that was done, I adhered the layer to the gray card base with pop dots.  To finish up, I adhered the anchor/sentiment to the card front with pop dots, and embellished with aqua enamel dots.

Well, that wraps it up for me, but be sure to come back on the 25th for more Avocado Arts inspiration! :)

Saturday, June 21, 2014

Life's a Beach with Teri


Hello, Avocado Arts fans! 
I'm happy to be here again with some new projects to share with you.
All the projects I'm sharing today were made with the Life's a Beach stamp set. 


Isn't it fun?! 
The owls just make me giggle! So, of course, I had to use one of the owls on my first card.


To make her a wee bit more silly, I gave her a pair wiggle eyes. 

Here's another card I made with the stamp set.


To make the anchor stand out, I traced around it with a light gray marker. I like how the color just makes that anchor pop.

I also used the sailboat on a card.


I played it simple here. I think sometimes it's just best to play it simple with busy stamped images. So I stamped the sailboard with red ink and then stamped the sentiment slightly over it with black ink. To give the card a little extra pop, I added a few gems to the water.

Thanks for stopping by! I'll see you again soon!

Thursday, June 19, 2014

June's Guest Designer Laura O'Donnell


Hello!  Laura O'Donnell here.  I am so happy to be guesting for Avacado Arts.  The new release for June is too cute.  When I opened my envelope and saw an owl in a bikini it made my day!  But first a little about me.  I am a 47 year old SAHM (for now) to a 7 year old boy and a 15 year old girl.  We live in West Chester PA, which is a Philadelphia suburb.  I started scrapbooking 10 years ago.  Scrapbooking led to stamping which led to cardmaking.  Then I added in some digital and Project Life and now I do a little bit of everything.  If you'd like to check out some more of my projects my blog address is http://itsallrosie.blogspot.com/

I received the Life's a Beach stamp set and I really had fun making scenes with these cute beachy owls!


For this first card I colored the girl owl with my Copics and fussy cut her out. I don't know what I like most about her, the bikini or the flip flops on her bird feet or the sunglasses on top of her head, but she is so ready for vacation!  The sandy bottom stamp (that's what I'm calling it) is a great way to ground the images.  I stamped it on Speckletone cardstock, cut it out, and layered it on blue cardstock to be the sky, then tucked the beach umbrella in the background.  Simple!


Then for this one did a variation of the first card and used some solid grey Divine Twine to tie the snorkeling owl to the anchor.  I love this idea for a masculine card.

Thanks again to Ashley and the rest of the Pit Crew for letting me hang out here this month.  I loved working with the June stamp set.


Laura

Wednesday, June 18, 2014

Life's A Beach... with Annette Allen

Happy June 18th everyone and welcome to another fun June release post. It is my time to share Avocado Arts Junes release Life's A Beach. I would so love to be at a beach right now. Well here we go.. 
I so love the script on these sentiments and how fun is this umbrella? 
This is a simple but sweet card. I let the stamps be the card. 
This card is a little wild but fun don't you think? I did a watercolor background and embossed the sentiment and fun hat image from Age is A Stage which is also one of the new 2x3 mini sets.  
How about a little glitter paper? This card was fun to make with the waves and the sail and how about that fun sentiment. OK so can you tell I love this set? It is a must have for sure. 

Thanks for stopping by.
I hope that I have inspired you.

Tuesday, June 17, 2014

Life's a Beach with Tenia Nelson

Hey Y'all!!!!
Hope all is well. Tenia here showing y'all what I did with the Avocado Arts Life's A Beach set.


Here is Card One.......CHECK IT!!!!


First, I created this card from white Cardstock from Michaels. Then I used a stencil and ink to create my waterlike background and I added strips of patterned paper from Studio Calico. I stamped the sentiment onto the card using Majestic Blue VersaFine ink. I also stamped image onto another piece of white cardstock using Onyx Black VersaFine ink. I colored image with Faber-Castell Paper Crafter Crayons and added embellishments and adhered image panel onto card.


Card Two......


First I created the card from Michaels White cardstock. After that I adhered various pattered papers(Studio Calico/Glitz Design) onto card. I punched out some circles using various Circle Punches by EK Success and adhered them to the front of card. I stamped "You Are My Anchor" onto one of those circles. Lastly I added twine.


and last but not least Card Three...


I used this super cute stamp set shown here.


This card is a very CAS card. I used various inks to stamp the chair image and sentiment onto Kraft cardstock. I also added enamel dots, faux stitching(using Faber-Castell PITT Pen) and twine.
Make sure that y'all check out what the other awesome ladies created!!! Thanks for stopping by and have a great day!!! 
-t   

Sunday, June 15, 2014

Life's A Beach + Tutorial With Pinky!

Hey everyone, Pinky here again with a few projects using "Life's A Beach"
with a step by step photo tutorial included.

I love making acrylic cards and using stamps, so I thought I would 
make 2 acrylic cards with the same techniques so you
could follow along and make your own if you wanted. 
This is the original card I fell in love with and here is the techniques I used
to create it, the actual card in this tutorial is below. 
When I made an acrylic card usually I start with a precut-folded card and I cut the front 
off leaving about 1.5" at the top. 
Punch the top with a border punch. 
 Ink all along the edges (for dramatic water effect). 
Trim acrylic to fit into card. (whatever size card is). 
Stamp sentiment on top using "Life's A Beach" stamp set from AA.
Stamp "sand" from "Life's A Beach" stamp set which I am using as water
onto light green card stock. Ink well with blue ink. 
Run through sticker machine. 
Press onto outside of acrylic piece. 
Trim out corrugated paper (blue) to be behind green and blue waves. 
Underneath acrylic place wet adhesive. 
Press onto corrugates waves and trim off excess. 
Adhere crystals to the front of the card.

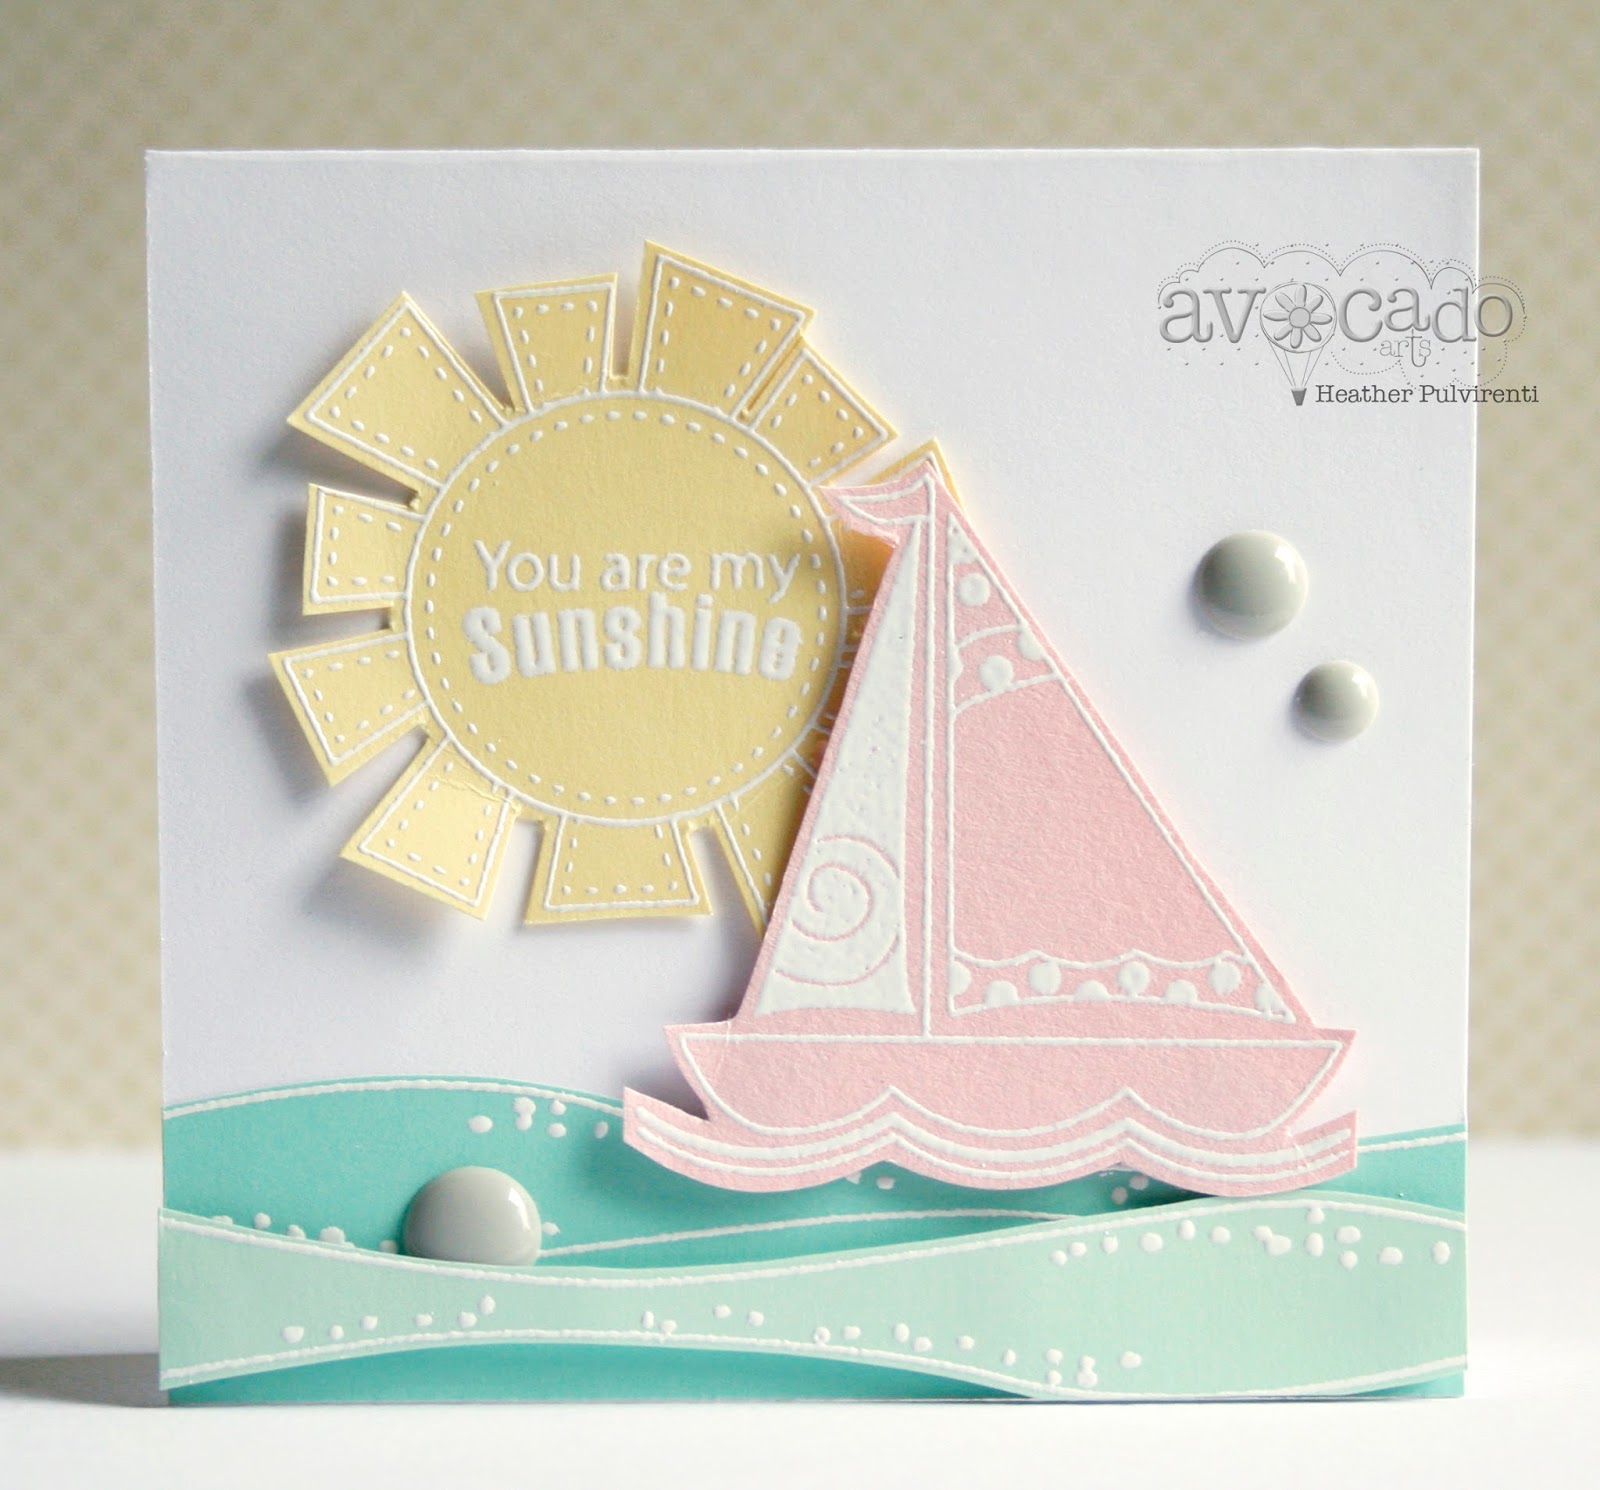
Stamp sailboat onto colored card stocks and patterned papers
to create different patterned boat. Adhere pieces.  
Adhere boat to front of card. 
Using wet adhesive or tape strip- adhere top of card to acrylic piece. 
And there you have it!

Now pardon my smear- after everything was said and done I stuck my 
finger into ink and right on the sentiment! It figures. :)
Isn't this the best little stamp set ever??!
I love it. 
On the front of this card I used glass effects for the dots. 
 After all that I decided to make a regular card too. 
I loved those tiny shells and wanted to have fun with it, so I 
stitched a ribbon to the inside at the top. 
I hope you liked my post today and SHARE IT! 
On Facebook, Pinterest and Instagram too, I am sure everyone will
be making acrylic cards before you know it.